
As evening arrives, the sky turns into a canvas of colours. A sunset photoshoot captures a unique dance of light and shadow. It’s all about capturing those short moments when the sun sets, shining in a golden light.
Every sunset picture tells a story. It’s a memory against a bright sky, making us stop and think. For photographers, creating such memories during sunset is their passion.
Photographers often talk quietly about the golden hour. They prepare their cameras to capture the beauty as day turns to night. But, capturing the perfect sunset shot takes skill, timing, and a little luck.
Key Takeaways
- Discover the ephemeral charm of sunset photography and the essence of creating an impactful sunset photo gallery.
- Learn the significance of the golden hour’s ambient lighting for producing breathtaking golden hour portraits.
- Understand how a professional sunset photo session leverages the natural environment for arresting, vibrant photography.
- Uncover the nuances that differentiate a snapshot from art in the realm of sunset photoshoots.
- Grasp the sentimental value embedded within the hues of sunset photography, stirring emotions and crafting visuals that resonate.
Understanding the Golden Hour for Scenic Sunset Photography
The magic of scenic sunset photography ties deeply to the golden hour. This special time occurs just after sunrise or before sunset. Then, the sun sits low, casting a golden glow perfect for picturesque sunset images. It provides light that is just right, making outdoor sunset photos a favourite for many.
The golden hour is unique because of its soft, diffused light. The sun, being lower, reduces the harshness of direct light. This creates a soft glow that adds depth and texture. It also brings out warm colours, from yellows to vibrant pinks, enhancing both landscapes and portraits.

The golden hour is that special time when natural light lends a gentle touch, transforming the mundane into the extraordinary, forever captured in a frame.
- The soft light minimises harsh shadows and highlights.
- Warm tones specifically favour scenic sunset photography.
- Longer shadows add depth and dimension to outdoor sunset photos.
To make the most of the golden hour, timing is everything. It’s vital to know when sunrise and sunset happen locally. Being there early to set up is key, as this magic hour can be brief.
It’s not just about light, but how it plays with your subjects. Below is a table showing how the golden hour’s qualities affect scenic sunset photography:
| Characteristic | Impact on Landscape | Impact on Portraits |
|---|---|---|
| Directional Light | Creates elongated shadows, adds texture and contrast to landscapes | Enables flattering light for subjects, adding depth to facial features |
| Warm Colour Temperature | Enhances natural colours, making scenes appear more vibrant | Imparts a healthy, golden glow to skin tones |
| Soft Quality of Light | Smooths out blemishes, reducing the need for post-processing | Minimises harsh shadows and highlights on the subject |
Photos from the golden hour can do more than document—they capture a feeling. Thoughtfully taken, they can bring picturesque sunset images to life. This makes the golden hour precious for outdoor sunset photography. It’s when nature is seen in its most beautiful light.
Planning Your Sunset Photoshoot: What to Consider
Before starting a sunset photoshoot, there’s a lot to plan. It helps you catch those amazing sunset scenes. You need to know the weather, learn the best spots, and pick the right time. This is how you make the most of the sun’s last rays.
Weather Forecast and Sky Clarity
Always check the weather before your shoot. Clouds can make or break your photos. They add drama or block the sun. You need some luck and a good weather source. This way, you can hope for clear skies that make your photos pop.
Location Scouting for the Best Sunset Views
Finding the best spot takes some scouting. You should visit potential places at different times. This shows you how the sun lights up each area. Think about how easy it is to get there, safety, and if anything might block your view. Choose a place that makes the sunset look its best.
Timing: When to Start Your Photoshoot
Deciding when to start is crucial. It’s not just about the fading light. It’s knowing how the light changes your scene. Arrive early to set up and take some test shots. This way, you’re ready for that perfect moment.
The Technicalities: Camera Settings for a Sunset Photoshoot

As the sun sets, getting the light right needs precise camera settings. These settings make your sunset photos truly stunning. They allow you to capture the charm of the sunset. We’ll share tips on adjusting your camera’s aperture, shutter speed, ISO, focus, and white balance. These are key for beautiful sunset shots.
Adjusting Aperture, Shutter Speed, and ISO
When it gets dark, managing aperture, shutter speed, and ISO is crucial. Use a wide aperture to let in more light. Keep shutter speed slow to gather more light but avoid blur with a tripod. Adjust ISO to keep photos bright but not grainy. Here’s how to balance these settings for vibrant sunset shots:
| Setting | Description | Tips for Sunset Shoots |
|---|---|---|
| Aperture | Controls the lens’ diaphragm opening size | Start at f/16, adjust for depth of field and light |
| Shutter Speed | Determines the duration of the exposure | Use a slower speed around 1/60s; deploy tripod for stability |
| ISO | Measures the sensor’s sensitivity to light | Keep low to avoid noise; ISO 100-400 is generally sufficient |
Focusing Techniques for Sharper Images
To get sharp sunset photos, focusing is key. Autofocus may struggle in dim light, so try manual focus. For wide scenes, start with infinity focus. Use single-point autofocus for clear shots against a sunset backdrop. This keeps your main subject in sharp focus.
- Use a tripod to stabilise your camera.
- Switch to manual focus when necessary.
- Engage back-button focusing to maintain focus between shots.
The Importance of White Balance in Sunset Photography
Correct white balance captures a sunset’s real colours. Avoid Automatic White Balance to keep the sunset’s warm glow. Choosing a setting like ‘Cloudy’ boosts the beautiful orange and red shades. Try different settings to get the perfect warmth in your photos.
- Opt for a manual white balance to amplify warm tones.
- Avoid AWB to prevent loss of sunset vibrancy.
- Take test shots to ensure colour accuracy.
Composing the Shot: Capturing the Vastness of Skies
Learning scenic sunset photography starts with knowing how to set up your photo to show the sky’s beauty. As the evening comes, the sky changes into a mix of colours that make stunning sunset backdrops. To get this wide view needs more than just good timing; it needs careful planning and using certain techniques that work well.
- The rule of thirds is basic but important. Imagine your photo is split into nine equal sections by two horizontal and two vertical lines. You should place the important parts of your scene along these lines or where they meet. For scenic sunset photography, putting the horizon on a horizontal line makes the photo look well-balanced and pleasing.
- Leading lines help draw the viewer’s eye into the photo. They can be roads, shorelines, or patterns in the sand or clouds. These lines lead to the main point of the sunset, adding depth to the story of your image.
- Negative space is the area around the main parts of your photo. It’s useful for showing how big the sky is. By leaving space above the horizon, the photo shows the sky’s vastness and openness, which is key to stunning sunset backdrops.
But there’s more to it than just sticking to rules. Each sunset is different, with its own colours and patterns. This gives photographers a chance to put their own spin on the scene. Changes in the clouds, where the sun is, and how light and dark interact affect how you compose your photo.
| Compositional Element | Function | Impact on Sunset Photography |
|---|---|---|
| Rule of Thirds | Balance and natural eye movement | Enhances the viewer’s experience of sky’s vastness |
| Leading Lines | Directs attention and indicates perspective | Adds depth and draws the viewer into the scene |
| Negative Space | Emphasises the subject by isolation | Communicates the expansive nature of the skies |
For those who love photography, the main aim in scenic sunset photography is to make a picture that shows nature’s awe and touches the viewer emotionally. With the sky always changing, capturing these brief moments with stunning sunset backdrops becomes a thrilling challenge. Succeeding gives both the photographer and the viewer pictures of amazing beauty.
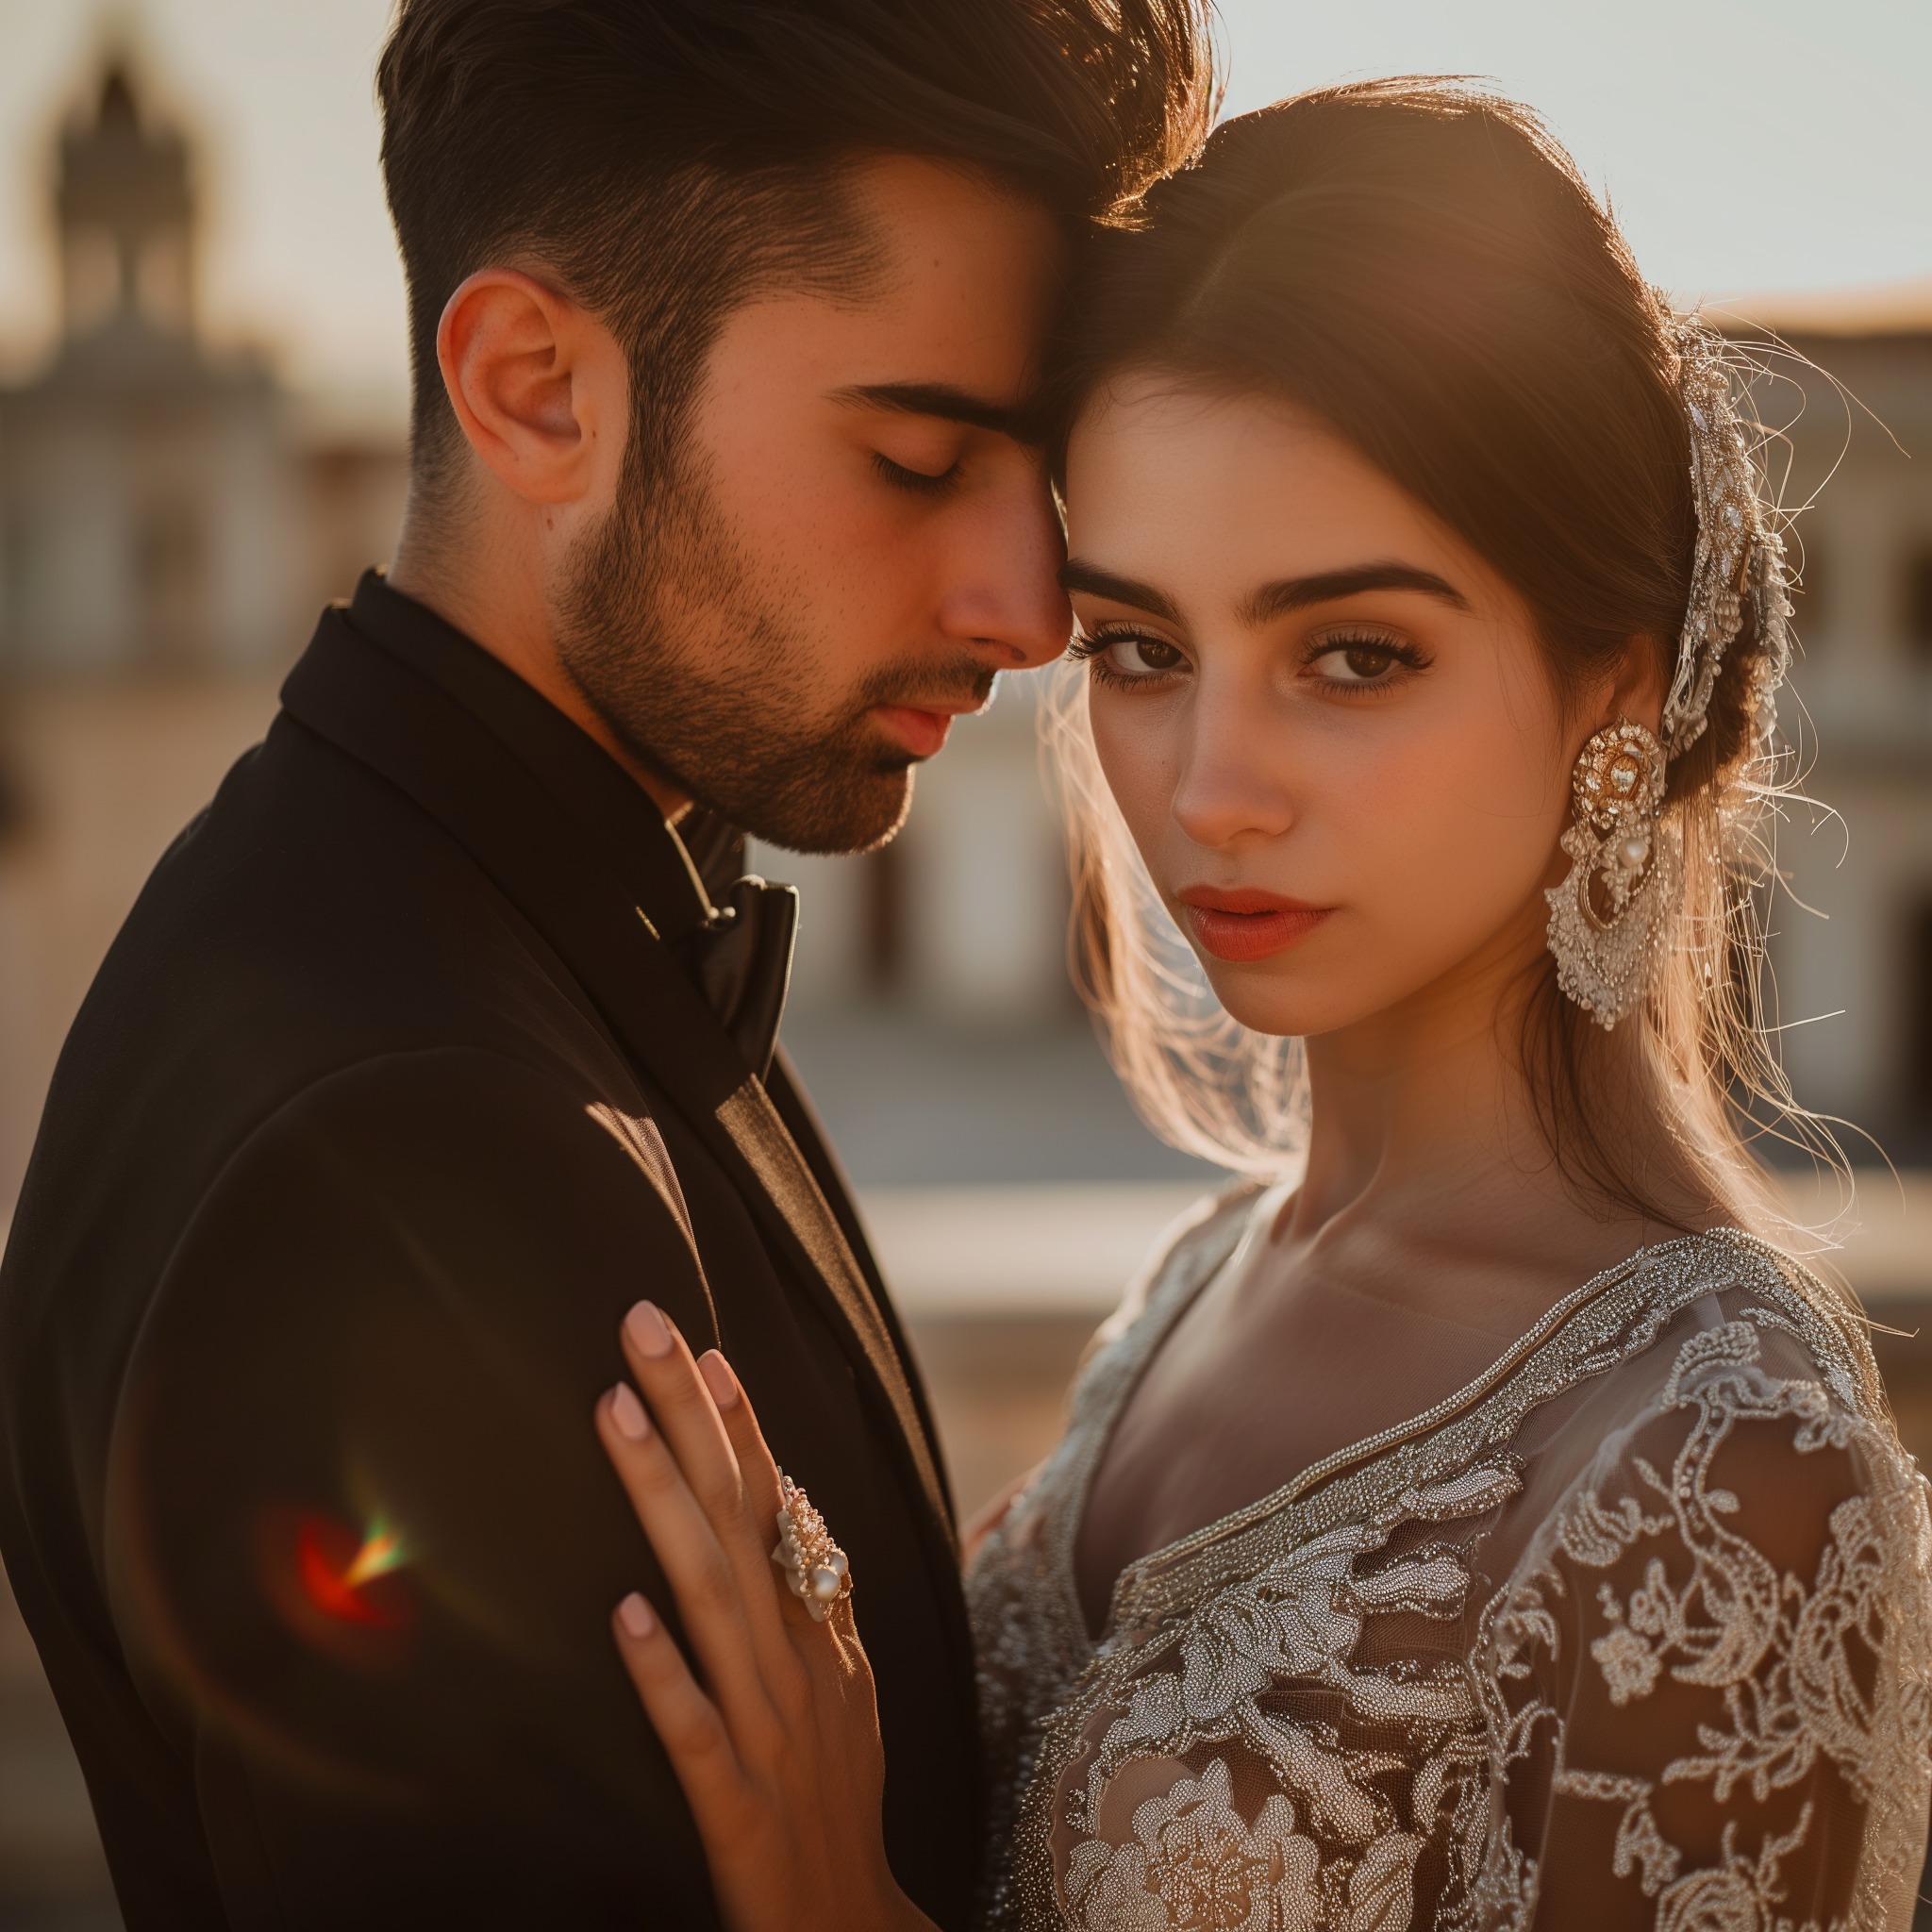
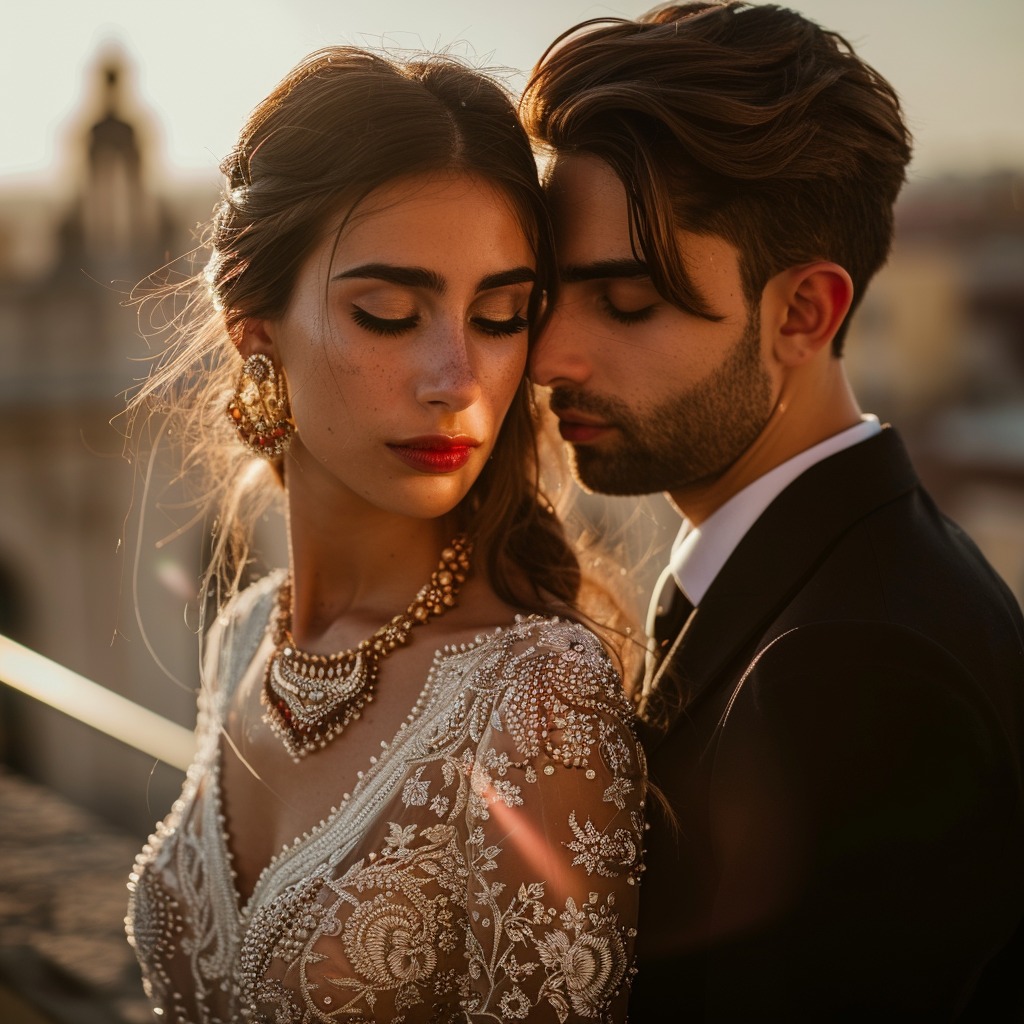
Working with Natural Light During a Professional Sunset Photo Session
Natural light is key in making golden hour portraits magical. At sunset, every photo is painted with shadows and a glow. This light creates stunning images.
Managing Shadows and Highlights
A sunset photo session brings the challenge of balancing light and dark. The goal is to keep features clear and well-lit. Photographers may move subjects to catch the best light, avoiding too dark or too bright areas.
This ensures everyone looks their best under the soft, golden light.
Using Reflectors and Diffusers
Reflectors and diffusers help shape the sunlight in photos. They either soften harsh shadows or add a sparkle to the eyes. Especially during the golden hour, reflectors brighten faces beautifully.
Diffusers, however, tone down overly bright spots. They give photographers control over the sunlight’s effect, enhancing the natural glow.
Incorporating Subjects into Your Sunset Photography
The soft glow of the setting sun makes golden hour portraits magical. Adding subjects into a sunset shoot adds depth and emotion. A candid or posed portrait against the sunset makes an unforgettable photo.
Posing Tips for Golden Hour Portraits
The warm hues and soft light of golden hour can flatter anyone. Have the subject face the light for a soft facial glow. Try side lighting to bring out texture and depth.
Encourage movement like twirling or jumping for dynamic shots. Capture the natural interaction between subject and sunset for spontaneity.
Capturing Silhouettes Against a Sunset Backdrop
Silhouettes against a sunset offer dramatic contrast. Position the subject against the light to highlight their outline. Have them pose or use props for a striking silhouette effect.
These dark figures against the sunset colors create mystery and beauty. It’s a simple yet awe-inspiring look.
Exploring Creative Angles for Picturesque Sunset Images
The journey to capture scenic sunset photography is more than just taking photos. It’s a creative journey that needs fresh perspectives and a readiness to try new viewpoints. For photographers wanting to include striking sunset images in their work, using creative angles can change the image’s mood and story.
To find the perfect shot, use the surroundings to highlight the sunset’s beauty. This might mean placing the sun among tree branches. Doing this uses natural elements to enhance the scene. Or, a photographer could shoot from a higher spot to show the horizon’s vastness.
Chasing unique shots might be a bit risky, but it brings out breathtaking picturesque sunset images. For example, taking a photo of the sun setting behind a city skyline or through an old building’s window adds mystery to the picture.
| Perspective | Advantages | Considerations |
|---|---|---|
| Low Angle | Emphasises the sky, can create a silhouette effect. | Consider the foreground elements for added interest. |
| High Angle | Showcases the landscape, gives a sense of scale. | Find a safe and accessible elevated position. |
| Direct Level | Connects the viewer with the horizon line. | Keep the horizon straight for balance. |
| Through Objects | Adds depth and frames the sunset. | Align the sun strategically with the object. |
In the end, sunset photographers must use their creativity and notice their surroundings closely. Whether it’s the silhouette of hills or reflections in a city, these unique shots in scenic sunset photography turn a normal photo into art. They fill it with emotion and a story.
Accessorising Your Sunset Photoshoot
A sunset photoshoot lets you use the beauty of the evening light. You can enhance landscape photos with cool accessories and photography tricks. By choosing the right props and maybe using lens flares or filters, your photos can tell a story. This turns a simple shot into something more meaningful.
Using Props to Add Interest to Your Images
Props can make your sunset photos look even better. Things like old lanterns or colourful scarves add depth. They tell a story that catches the eye. Think about how each item fits with the scene and what story you want to tell.
Adding Flares and Filters for Artistic Effect
Lens flare can make your photos look magical or dreamy. By placing the camera carefully towards the sun, you create special light effects. Also, playing with filters changes the feel and colours of your pictures.
| Prop | Description | Visual Effect |
|---|---|---|
| Rustic Basket | A woven basket can bring a homely touch to rural sunset scenes. | Adds depth and texture, suggesting rural simplicity |
| Glass Prisms | When placed near the lens, they refract light and create unique colour spectrums. | Produces creative light distortions and colour splashes |
| Fairy Lights | Battery-powered lights can introduce a magical and whimsical element. | Creates a bokeh effect for a fantastical ambiance |
| Antique Mirror | An old-fashioned reflective surface that echoes the sky’s palette. | Mimics and amplifies the sunset’s glow, adding complexity |
Post-Production: Enhancing Sunset Photos in Editing
The key to a top-notch sunset photo gallery lies in skilled editing. In scenic sunset photography, taking the photo is just the beginning. Editing turns simple shots into stunning images that capture the imagination.
For photographers wanting to improve their sunset photos, here are some editing tips. They make the colours and mood of your pictures pop:
- Colour correction is crucial. It fixes colour problems, making sure sunset colours look real.
- Adjusting contrast is important. It helps show the difference between the sky’s soft light and the dark shadows, adding depth to the photo.
- Tweaking highlights and shadows brings back details that might have been missed, especially in the gentle parts of a sunset.
The table below shows common adjustments in the editing process:
| Adjustment Type | Purpose | Effect on Sunset Imagery |
|---|---|---|
| Colour Temperature | To provide warmth or coolness | Makes the sunsets’ golden tones shine |
| Saturation/Vibrance | Intensity of colours | Makes sunset colours deeper and more vivid |
| Clarity/Sharpness | Detail enhancement | Shows the fine details in clouds and the horizon |
| Curves/Layers | Detailed contrast control | Adjusts light levels for different parts of the picture |
| Dodge and Burn | Local exposure adjustments | Highlights the play of light and shadow |
In the end, skillful editing can turn a basic image into an artwork that could grace any sunset photo gallery. By focusing on colour, contrast, and clarity, your scenic sunset photography will shine. It will tell the perfect sunset story that many aim for but only a few achieve.
Constructing your Sunset Photo Gallery: Presentation Tips
After a sunset photo session, a photographer gets busy. They have to turn many moments into a captivating gallery. Choosing the right images becomes an art, showing the best story of that day.
Selecting the Best Shots for Your Portfolio
Choosing photos is key to showing your artistic vision. You must look through many pictures to find the specials ones. These need to not just look good but also tell a story and show the beauty of the sunset.
Curation and Storytelling within Your Sunset Photo Collection
Curation helps you tell a story with your photos. Each one should add something new to the overall tale. Arranging them just right can take viewers on a journey of colors and shapes. It shows off your skills from the photo session.
Learning from the Pros: Inspirational Ideas for Stunning Sunset Backdrops
Sunset photography captures moments that quickly pass. It’s all about those few minutes when the sky changes into vibrant colours. Taking tips from pros can show new ways to catch these moments. They say being patient and persistent is vital for incredible sunset photos.
One trick from experienced photographers is getting to the spot early. Being there before the sunset starts lets you try different settings. This preparation makes an average scene into a stunning sunset backdrop.
Here’s a table showing how pros make their sunset photos better:
| Method | Description | Example |
|---|---|---|
| Chasing the Light | Joining or organising ‘golden hour’ photowalks to understand diverse lighting conditions. | Gathering insights from group settings can spark individual creativity. |
| Foreground Interest | Including elements such as silhouettes or distinct shapes that add depth to picturesque sunset images. | Silhouetted palm trees or a distant sailboat catch light magically. |
| Post-processing Mastery | Using editing software to enhance colours and contrast to mirror the original scene’s vibrancy. | Subtle increases in saturation and temperature controls can recreate the warmth of the captured moment. |
Professionals’ collections often show that the best backdrops aren’t just about the sun setting. It’s also about how everything in the photo uses light. For example,
Ansel Adams, a legendary figure in photography, showed how light and shadow are crucial. He inspired many to see the beauty in picturesque sunset images.
When searching for unique sunset photos, it’s important to think about these proven methods and adapt them. Learning from experts gives new photographers a chance to bring their own colour to the canvas.
Conclusion
As the day ends, the sky changes colour, offering a perfect moment for a sunset photoshoot. This is when all photographers try to capture the beautiful light. They hope to take stunning photos that shine brightly.
By following the advice given, from adjusting your camera settings to including vast skies in your shots, your photos will improve. Taking photos at sunset is more than just about the light. It’s about capturing a special feeling, a moment frozen in time, painted with warm colours. This can turn a simple photo into a real work of art. Whether you’re making a sunset photo collection or improving your golden hour shots, these moments are priceless for artists.
Now, with a range of colours to see as the day ends, it’s time to go outside and be inspired by nature. Use what you’ve learned from experienced photographers and see the golden hour differently. Your adventure in sunset photography can be truly amazing. May your views be wide, your portraits glow, and your sunset photos show the world’s beauty at the end of the day.


")

