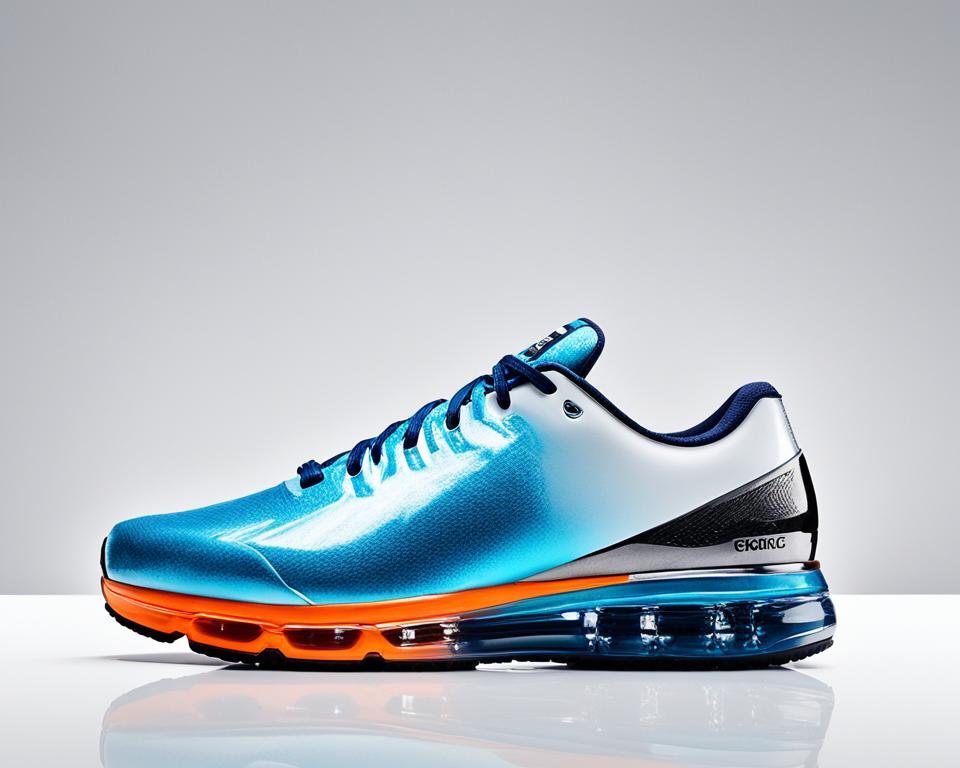
Did you know our brains can understand images in just 13 milliseconds?1 This shows how important good photos are online. The first look most customers get of a product is its photo. That makes learning to take great photos key to getting noticed and showing off your product’s value well.
There are many photo styles to choose from, each serving a different purpose. Knowing which to use can really make your products pop. From single items to groups, or even showing how they fit into everyday life, these images tell your product’s story.
This guide will cover key tips for taking great product photos. From using the right lighting to getting up close with a macro lens, we’ve got you covered. By the time you finish, you’ll know how to make photos that really hook in today’s savvy shoppers online.
Key Takeaways
- Our brains are quick to understand images, making great photos vital1.
- Top-notch product photos can draw in customers and sway their buying choices2.
- It’s crucial to know the different types of product photos for effective storytelling2.
- Whether you use natural or softbox light, the right lighting can boost your photos1.
- Choosing the best camera gear can seriously lift the quality of your product photos2.
Understanding Different Types of Product Photography
Product photography includes many styles. Each style is used to show products in the best light. Knowing about these styles helps tell a brand’s story visually. Let’s look at some shot types that make products look great.
Individual Shots
Individual shots focus on one product. They show off its details and quality. These shots are common for luxury items or unique products3. They tell a clear, close-up story, which is key for such items.
Group Shots
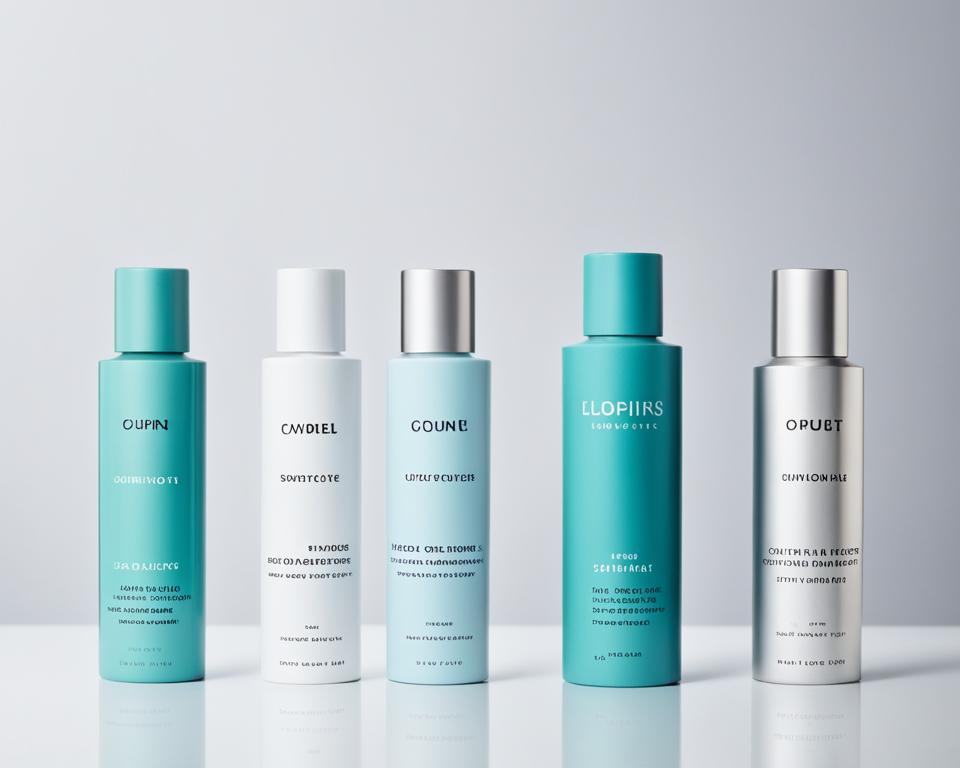
Group shots are about showing collections and choices4. They help customers see all the items together. This makes it easy to compare and understand what a brand offers. Different product photos, from single items to groups, all have their place3.
Lifestyle Shots
Lifestyle shots place products in real settings. This makes them more appealing and relatable to people5. They stir aspirations and show how a product can be used. This creates a bond between the product and its buyer.
Scale Shots
Scale shots show the size of a product clearly, making it easy for customers to know what they’re getting3. For example, placing a small phone next to a coin provides helpful reference points.
Detailed Shots
Detailed shots focus on a product’s special features. They are crucial for items like jewellery, which are hard to photograph4. Taking these photos requires careful lighting and background setup.
Packaging Shots
Images of product packaging have become very important3. They show the brand’s care for presentation. The packaging is part of the product’s story, reflecting the brand’s quality and style.
By using different photography styles, a brand’s story can be Told in many ways, helping customers from start to finish in their buying journey.
Essential Equipment for Professional Product Images
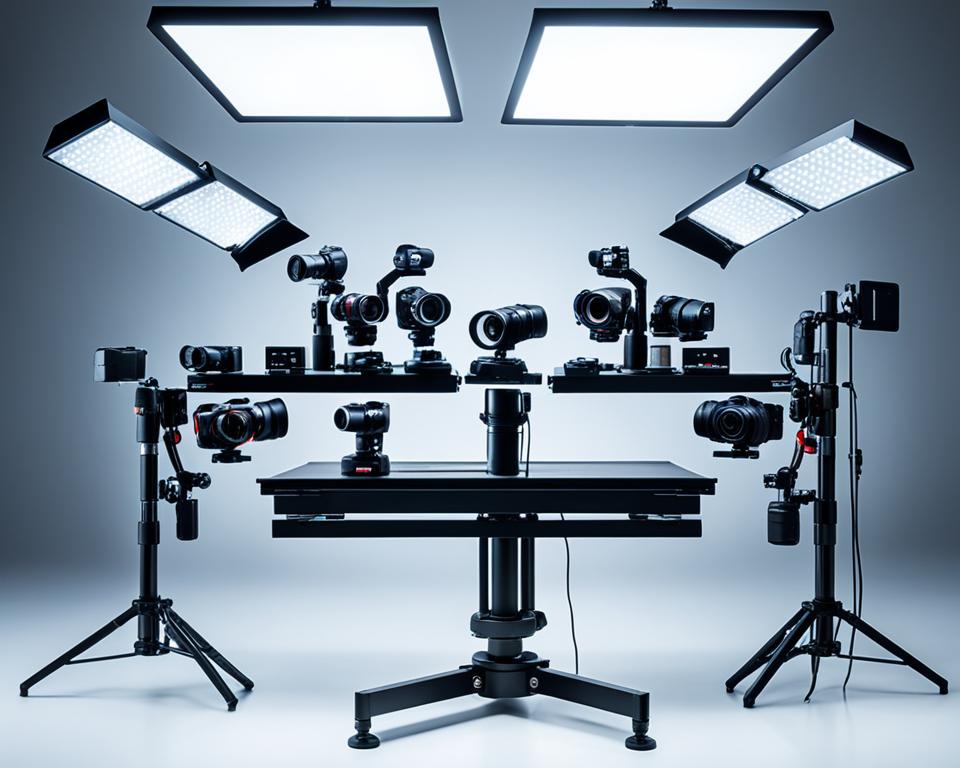
The right equipment is a must for top-notch product pictures. Aim for a camera with 20-24MP to get started with sharp images6. Consider lenses that do it all, like a Tamron 90mm f2.8 Macro, for shots of any size with great detail7. If you want super close-ups, a 100mm macro lens is great for showing tiny details6.
Camera and Lenses
Using advanced camera gear does wonders for your shots. Look for cameras that let you connect an external flash for better lighting options6. Brands such as Canon have different lens systems to fit any situation, from close-ups to wide shots6.
Lighting Equipment
Good lighting is key to great product photos. Try to have at least two light sources for even light and fewer shadows6. Top-quality lights, like Einstein’s strobes, give a steady light for your photos7. With a few lights, you can take sharp photos without using high ISO settings7.
Tripod and Stabilisation Tools
In product photography, a steady base is crucial. Use a tripod with precise adjustments to prevent any blurring and get clear shots7. It’s vital to have a sturdy tripod to keep your camera still for the best results6.
Background and Backdrops
A good backdrop doesn’t have to cost a lot but it’s very effective. Use foam boards, plexiglass, or cinefoil to keep the focus on your product6. Changing your backdrop can show off your product in different ways.
This mix of camera, lens, lighting, and support gear lays the groundwork for truly professional product photos.
Setting Up Your Product Photography Studio at Home
Creating a home photography studio is easier than it seems. With simple tools and a dose of creativity, you can match the pros. Here, we will explore key steps to get started.
Background Setup
A clear and neat background is key for good product photos. A seamless white backdrop roll is a wallet-friendly choice, available for $35 from brands like Savage8. For more flexibility, go for different backdrop sizes like 1.35m, 2.08m, or 2.72m9. These fit various product sizes well.
Foam core boards, costing $23 for a pack of five8, are also great. They work as both background sweeps and bounce cards for adjusting light10.
Using a Light Tent
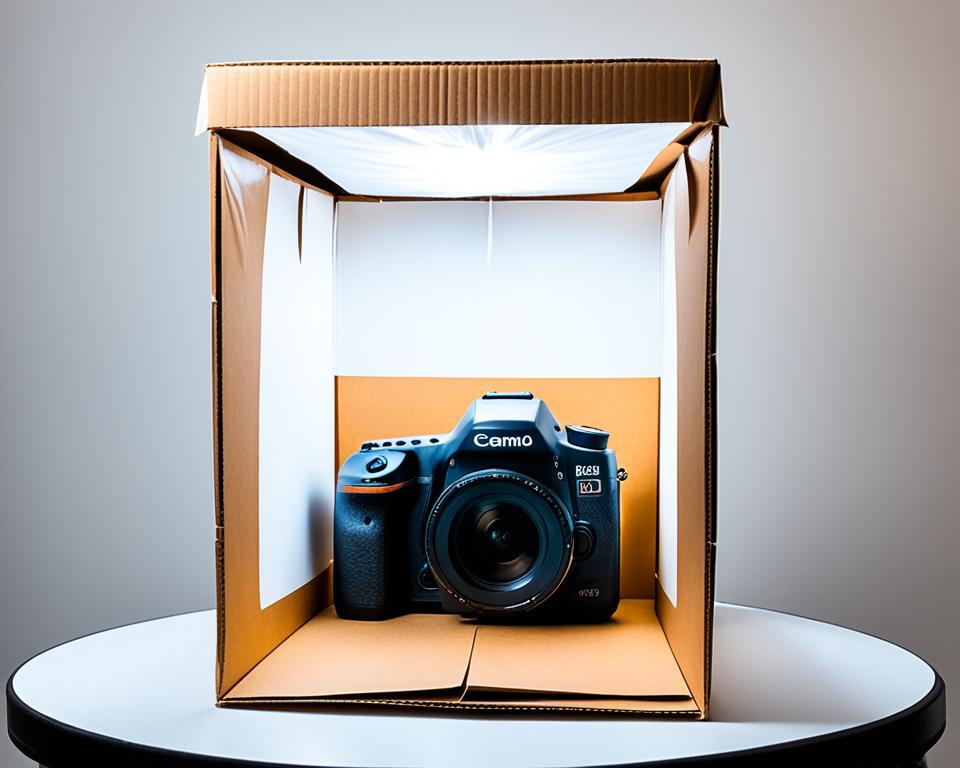
A DIY light tent can make your photos look better. It softens the light and decreases harsh shadows. You can start with a sturdy folding table, which costs around $100, like the Cosco Black Square Folding Table8.
Make a light tent from white paper or fabric. Use it with sunlight from a window for great photos without spending a lot8. A large window, around 50″ by 50″, is perfect. It offers natural light that’s well-balanced for your photos, not causing glare8. Setting up your DIY studio is quick, taking under 10 minutes8.
| Item | Description | Cost (USD) |
|---|---|---|
| Camera | Canon PowerShot SX620 HS | $2308 |
| Memory Card | SanDisk 16GB SD | $98 |
| Tripod | Lightweight Camera Mount Tripod Stand | $138 |
| Backdrop Paper | Savage Seamless White | $358 |
| Foam Core Boards | Pack of 5, 16×20 size | $238 |
| Folding Table | Cosco Black Square | $1008 |
The Importance of Lighting in Product Photography
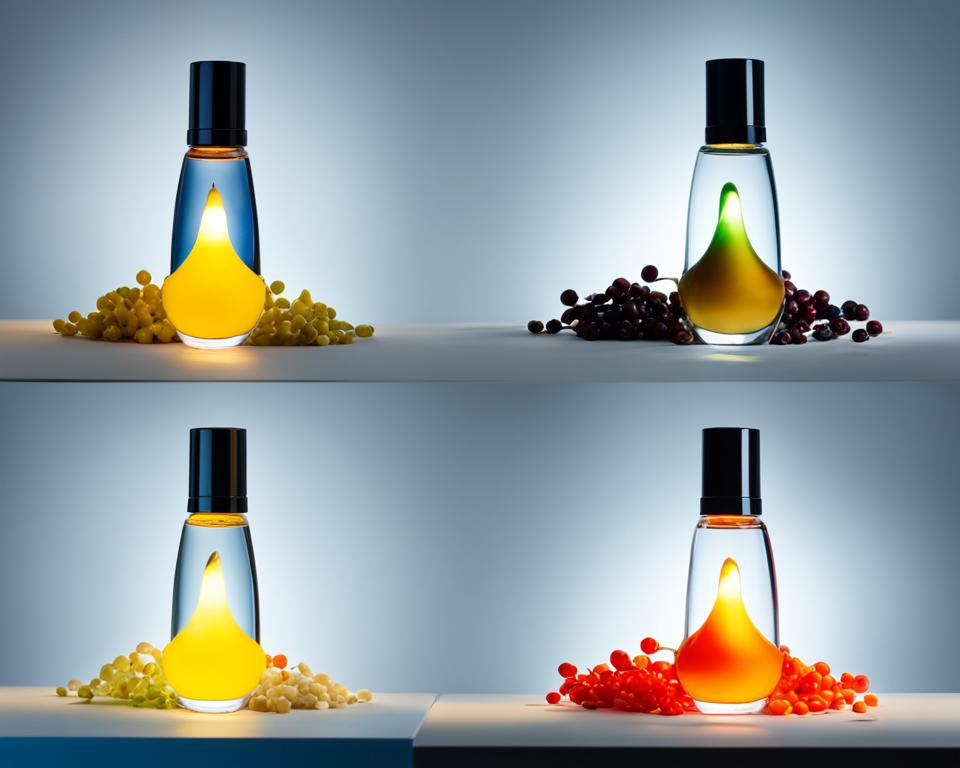
Good product photos need the right lighting knowledge. The size of the light changes shadow sharpness. Bigger lights give softer shadows11. Product photographers know that hard light shows texture but makes shiny things too bright11. Learning about light types and sizes can really help make your photos better.
Natural Light vs. Artificial Light
Both natural and artificial light have their own good points. Natural light is soft and great for making photos people can relate to. Artificial light is better for controlling how products look. Where you put the light matters a lot, affecting shadows and how items stand out in pictures11. Knowing about light sources helps make your photos look the way you want.
Using Softboxes and Reflectors
Softboxes and reflectors help shape light for different effects. Softboxes make light gentler and even, key for eye-catching photos. Reflectors improve detail by bouncing light on the product. Ortery’s top lights let photographers easily adjust the light for the best shot12. With Ortery’s long-lasting LED technology, quality lighting is within reach for a long time12.
The Inverse Square Law explains light’s behaviour with distance and source size. It’s must-know for top-notch photos11. Experts use scrims to soften light on shiny items, creating flawless photos11. For great results, photographers should use these lighting techniques.
Composition and Framing Techniques for Attractive Product Photos
To snap stunning product pictures, knowing how to compose and frame them is key. By using creative strategies, you can draw people in emotionally. This makes your items pop.
Different Angles and Perspectives
Trying out different angles and views can do wonders for your photos. A top-down shot, for example, is great for flat lay pics1314. A 45-degree angle highlights texture and colour, giving your photo more depth15. Adding dynamic diagonals draws attention to your product, making your photo more exciting1315. These methods not only showcase your product but also resonate with potential buyers.
Using the Rule of Thirds
The rule of thirds is essential in product photography composition. By placing your products at the intersection points, your image becomes more dynamic1315. This is a well-known technique for making your photos look balanced and interesting1514. It not only organises your composition but also tells a strong story about the product.
Applying these framing methods can make your product photos stand out. They enhance the look and feel of your items in powerful and eyecatching ways.
How to Incorporate Lifestyle Shots
Using lifestyle shots is key in product photography. It makes visuals that speak to buyers. We’ll look into picking models and setting up real scenes.
Choosing the Right Models
Choosing the right models is the first step. They should match the brand’s audience. This makes the product image more real and relatable. Cindy Ngo from INK + PORCELAIN notes that lifestyle images help customers imagine products at home16.
Creating a Realistic Scene
For a realistic product photo, place products in suitable settings. This catches the buyers’ eye and increases sales1718. Use real places or create believable backdrops to avoid costs17. Adding props is crucial. They make the story richer and the product more appealing17. Most online buyers prefer real-life product photos, supporting this approach18.
Lighting is crucial in lifestyle photography. Good lighting shows product details without harsh shadows. It makes scenes look natural17. This technique helps buyers envision the product in their life18. It also makes lifestyle images more engaging, attracting buyers in a tough market18.
In the end, lifestyle product photos are more than pictures. They tell stories that fit with buyers’ lives, building a stronger connection and boosting sales1718.
Editing Your Product Photos for a High-Quality Finish
Post-production is an essential part of creating stunning product photos. It involves using editing techniques to make images better. We will look at key steps and tools in post-production photography.
Post-Production Software
Using powerful software like Adobe Photoshop and Lightroom is a must. They have tools to improve photo quality. These tools let you tweak every part of the photo to make it perfect.
Adjusting Exposure and Contrast
Fixing exposure and contrast makes a big difference. It ensures your product looks clear and stands out. Tinkering with brightness and shadow also helps in creating eye-catching photos.
Retouching and Removing Imperfections
Next, retouching is key. Tools like Spot Healing Brush and Clone Stamp are used. They make images free of errors. This is important for drawing in potential customers. Unsharp Mask can also make lifestyle photos clearer19.
By applying these editing techniques, photos can look more professional. This helps show off the product’s best features. As a result, it can attract more customers and boost sales.
Common Mistakes in Product Photography and How to Avoid Them
Product photos can suffer from many mistakes. These include poor lighting and bad composition. This can make products look dull or too bright, reducing their attractiveness20. Understanding light and colour is key to making products look their best. It also includes getting the right balance of colour and making sure white and grey colours are true to real life20.
Mistakes with exposure are common, too. Photos might have too much shadow or be too bright, hiding product details20. It’s important to get exposure settings right to avoid this. Also, keep the focus on the product and not other distracting details in the photo21.
Consistent photo styling is critical for product sets. Inconsistent photos can confuse customers, especially on e-commerce sites22. A tripod can be a simple, affordable solution to keep photo styling consistent22.
The background is crucial, too. An overly busy backdrop can draw attention away from the product20. It’s often best to use clear, simple backgrounds. This helps the product stand out clearly21.
Photographers should also watch the model’s look and positioning. These should enhance, not distract from, the product20. Planning with sketches can help. This makes sure the focus of the photo is clear21.
Good editing is necessary to avoid photo pitfalls. Too much editing can make photos look fake. Keep products clean during the shoot to reduce the need for heavy editing2120. Following these steps ensures that your product photos are high-quality and engaging.
Tips for Taking High-Quality Product Photos with Your iPhone
Today, you can take great product photos without pro gear. iPhones, for example, are amazing for this. They have features that help your pictures look fantastic. Let’s talk about how to set up your iPhone and stage your shots for the best results.
Camera Settings and Applications
Recent iPhones have 12 megapixels or more, perfect for products23. Use the iPhone’s own camera app; it’s better for this than others24. You can also try apps like Camera+ 2, VSCO, and ProCamera. They give you manual settings, much like what you find on big digital cameras. You can get some for free, while others may cost you up to $7.9923.
Important tips include selecting the best image quality, choosing JPEG or RAW, and making sure your shot is straight using Grid and Level features23.
Lighting and Staging Tips
Good lighting is key for iPhone photos. Try to work in natural light. But, if that’s not possible, you can use a diffuser to soften the light25. You can also use artificial lighting. It gives you more control over lighting, although it can lack that nice, natural warmth24.
There are affordable ways to improve your lighting. Things like pop-up tents and self-lit kits are great for this23. Remember not to use the digital zoom, flash, or filters on your phone. They might make your photos look worse23.
When setting up, use a flat surface and a simple, soft background. This makes your products the main focus of the picture23. You might want to have a mini tripod and white bounce boards on hand. They help with keeping your phone stable and reduce shadows25. Also, it’s good to see what other brands are doing well and to understand simple composition rules. Rules like the rule of thirds can really improve how your pictures turn out24.
FAQ
What are some fundamental product photography tips for creating stunning visuals?
Can you explain the different types of product photography?
What essential equipment is needed for professional product photography?
How can I set up my own product photography studio at home?
Why is lighting so important in product photography?
What are some composition and framing techniques for product photos?
How can I incorporate lifestyle shots into my product photography?
What should I focus on in post-production for product photos?
What are common mistakes to avoid in product photography?
How can I take high-quality product photos with my iPhone?
Source Links
- https://www.bigcommerce.com/blog/how-to-rock-product-photography-on-a-budget/
- https://grattanstudios.com/mastering-product-photography-tips-for-creating-stunning-images/
- https://www.squareshot.com/post/17-types-of-product-photography-your-online-business-needs-to-know
- https://creativefolks.co.uk/blog/different-types-of-product-photography/
- https://expertphotography.com/types-of-product-photography/
- https://proedu.com/blogs/news/lighting-gear-needed-start-product-photography
- https://www.slrlounge.com/product-photography-gear-need/
- https://www.pixelz.com/blog/diy-1-build-photo-studio-bootstrapped-budget/
- https://laurabc.com/blog/how-to-build-a-home-photography-studio-in-a-small-place
- https://www.shopify.com/uk/blog/12206313-the-ultimate-diy-guide-to-beautiful-product-photography
- https://visualeducation.com/top-product-photography-tips/
- https://www.ortery.com/7-benefits-of-using-a-top-light-for-product-photography/
- https://expertphotography.com/product-photography-composition/
- https://fdsmasterclass.com/most-useful-composition-techniques-in-product-photography/
- https://www.clippingpath.in/blog/common-product-photography-composition-tips-for-beginners/
- https://www.shopify.com/uk/blog/lifestyle-photography
- https://expertphotography.com/lifestyle-product-photography/
- https://blankabrand.com/blogs/beyond-the-brand-beauty-blog/lifestyle-product-photography-tips-that-can-help-you-to-increase-online-sales
- https://www.adobe.com/th_en/creativecloud/photography/discover/product-photography.html
- https://www.createandthrive.com/common-product-photo-mistakes
- https://visualeducation.com/pro-tips-to-avoid-the-most-common-mistakes-in-product-photography/
- https://www.squareshot.com/post/11-product-photography-mistakes
- https://www.pixelz.com/blog/use-smartphone-to-capture-high-quality-product-images/
- https://dropawall.com/blogs/dropawall/how-to-shoot-killer-product-photography-with-your-iphone
- https://www.shopify.com/uk/blog/15163633-how-to-capture-high-quality-product-photos-with-your-smartphone
